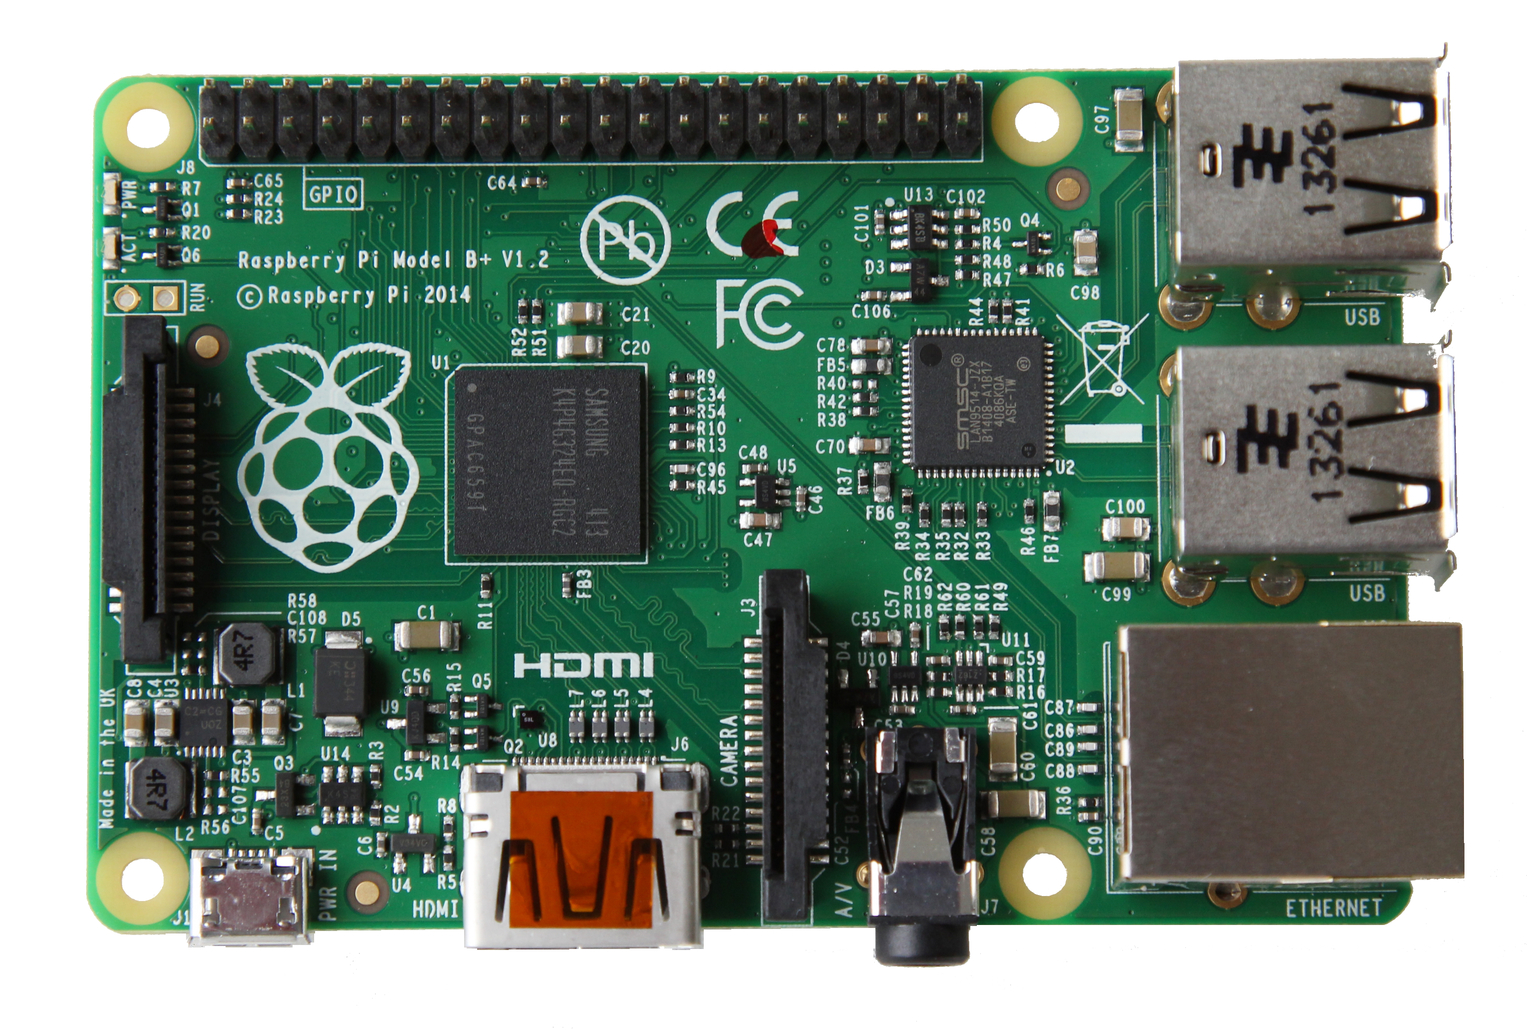
Fortunately what i received already can be tested. I received my 5 pairs of RF 433 Mhz modules (RX / TX), jumper cables and some small breadboard, with the Raspberry Pi i already had ... i can cook :)
The idea here is to be able to test the modules in order to see if all 5 pairs work properly (since they were crazy cheap and sent from China)
The strategy here is to use the Raspberry Pi as the sender and the receiver.
First i had to install WiringPi in order to have the GPIO working properly
Then i had to install 433Utils, a neat little module that is allowing me to receive (sniff) and send data.
For the wiring i use a breadboard to power both RX and TX modules using the 5V pin 2 and the GND pin 6.
Then i use cables to connect the RX/TX modules data pins :
- Emitter : Pin 11 (GPIO 17) of the Raspberry Pi. Also marked as Pin 0 under WiringPi's naming convention)
- Receiver : Pin 13 (GPIO 27 Rasp Pi B+). Also marked as Pin 2 under WiringPi's naming convention)

With that simple setup on i can go ahead i can try and send data and see if it is being received.
Now on my computer i connect to my Raspberry Pi using ssh
Code 1 : ssh pi@yourlocalIPaddress (once prompted, enter your password. Default is "raspberry")
Then i have to go to the specific folder where the 433Utils programs are stored in order to start them.
Code 2 : cd 433Utils/RPi_utils
This bring you to the correct folder where the sending program and the sniffing program are stored.
Now i open another Terminal window and login via ssh (code 1) and i go to the 433Utils folder (code 2)
In the first terminal window start the Sniffer program.
Code 3 : sudo ./RFSniffer
Now in the second terminal window send a code
Cod 4 : sudo ./codesend 121234 (any random integer)
If everything works fine, you should see your integer going through the Sniffer result window just like in the below screenshot :


I noticed that i couldn't send more than 8 digits for that integer.
This is my first victory with this stuff that i never used before as i am not in electronics at all.
Now i have been trying to mess-up with it and tried to "sniff" different 433Mhz RF Remotes in order maybe to know what was the sent signal and use the Rasp Pi as a replacement remote.
I tried with 2 differents things.
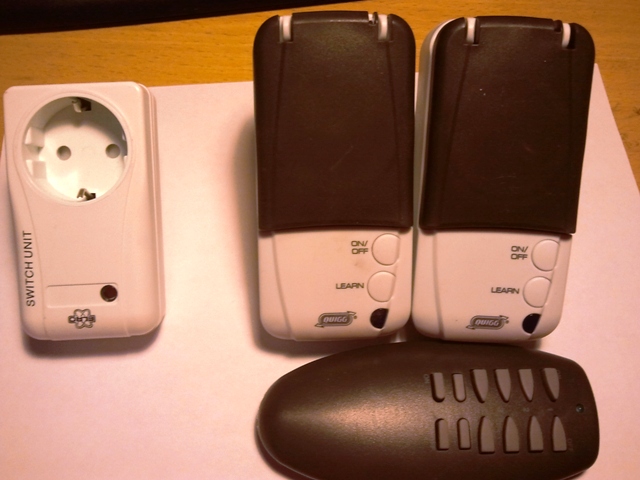
- A RF wall plug remote (Brand QUIGG), the user can't really do anything with the remote (no channel selection or anything like) ... whatever i tried ... no signal was picked up.
- A RF Remote for an automated garage door from my building. Same thing here ... no luck in picking the signal from the remote ...

I read in many place that the only of "reading" the signal from a remote was to use a jack and soundcard in order to "see" the pattern of the signal and reproduce it. Anyone have any idea how this works ?